 This week has been busy. I decided to have a big clean up and not a single grubby finger print or dusty corner in the house escaped (although can I just say don’t open the cupboard under the stairs). I needed a quick make to bring some necessary craftiness to my poor hum drum life (serious violin playing here folks).
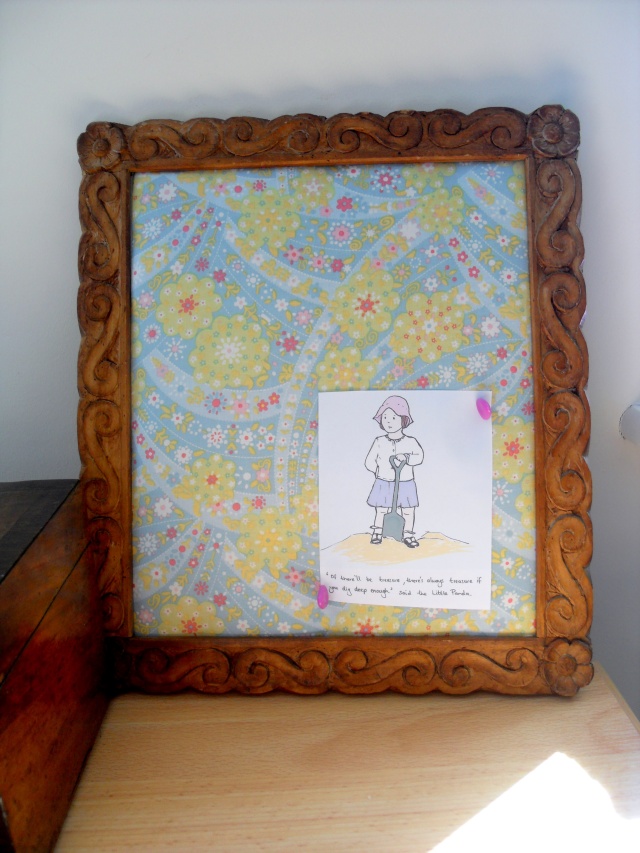
My parents-in-law had recently given me two old wooden frames (I think they were hand carved) and I’ve been debating what to do with them for a while. Finally I decided to turn them into two very sweet mini notice boards, which I have hung over my sewing table. If I’m feeling a little pretentious in future I may refer to them as my mood boards (don’t hold your breath).
I’ll go through making the notice boards step-by-step just in case anyone else fancies making one.
Supplies
- Two cork tiles
- drawing pins
- wadding (batting)
- A piece of fabric about 4cm longer and 4 cm wider than the frame’s aperture
- Small nails
Tools
- Stanley knife
- Scissors
- hammer
- Using the Stanley knife cut the cork tiles to fit snugly into the back of the frame.
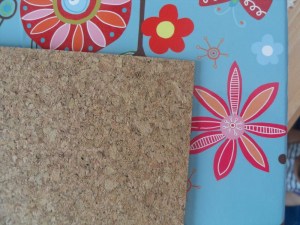
- Cut the wadding to the same size.
- Stretch the fabric over the wadding and the cork tiles (make sure the untreated side of the cork tiles is facing towards the wadding and the fabric). Pin in place using the drawing pins. It’s best to place one pin and then do the pin opposite to ensure that the fabric is stretched evenly. Make sure that the pins go through both cork tiles to hold them together.
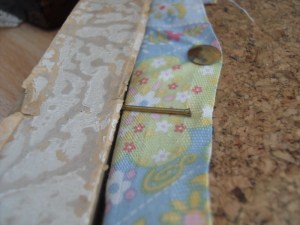
- Fit into the frame. If you’re lucky your frame may already have fittings to hold the back in place. If it doesn’t just use some small nails to hold it in. Knock the nails into the fame so that they are about half in half out (see diagram). Knock in at least one nail on each side (the exact number you need to put in to ensure that the notice board is strong enough will depend on the size of the frame.
You could also put some ribbons across the board to hold postcards etc, but the prints on the fabric I used were quite busy and didn’t need any extra detail.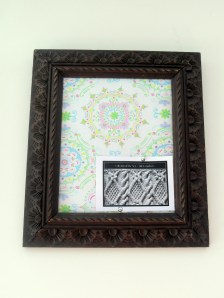
I finally got my Folksy shop up too. I’d welcome any constructive criticism.
I‘ll leave you with some photos of the hair clips that I’ve just added to my shop.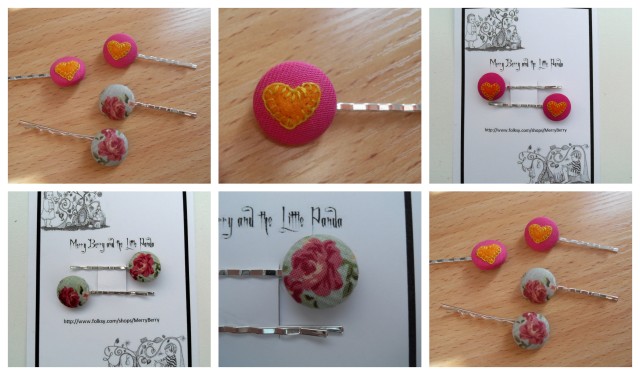


Pretty things! Lovely to have you back in the blog world Kendra – complete with a whole extra member of your tribe – congratulations :)
Your little shop is lovely, clear photos and nice items. Iused to read your blog years ago, I have restarted blgoging now too, so its nice to see you back!